

As you can see, it is colour-tastic!
The pattern for most of the squares is a very simple one, three rows of circle, then a row which changes it to a square, then three square rows.
As you can see I made this one is blocks of nine squares, and each block of nine uses four shades of a single colour. The central square of the outside circles has a flower in it and I tried to make all of these different. There are three 'cosmic' blocks in the central row which are a little different. The rainbow squares have seven colours, representing the rainbow colours, but it is surprising how different they look when you just put the colours in a different order. These alternate with red at the centre and purple at the outside, then purple at the centre with red at the outside.
I have used this same principle of colour variation in each of the blocks, the colours of each nine square block are the same, just used in alternate orders
Then we have the Sun block and the Moon block. I actually started this crochet by making the corner squares for the Sun block because I wanted to try the pattern of offset corner squares. But I was a bit disappointed that I had to applique the stars rather than working them in the squares.
The central Moon square, on the other hand, does have the Crescent Moon as an integral area of the square.
I really had fun with the colours on this blanket. Each of the squares is 6" across, so each block is 18" making the total width four and a half feet, and the total length six feet, the size of a standard double bed. But I think for practical purposes it would look better on the bed if you put it on sideways - which is why I've got two pictures showing it in both orientations.
Graham is holding the blanket upside down in the long ways pic though - well I think of the rainbow square as being at the 'top'.
Lol I have just noticed that we have some lovely pictures of our re-cycling bin included!
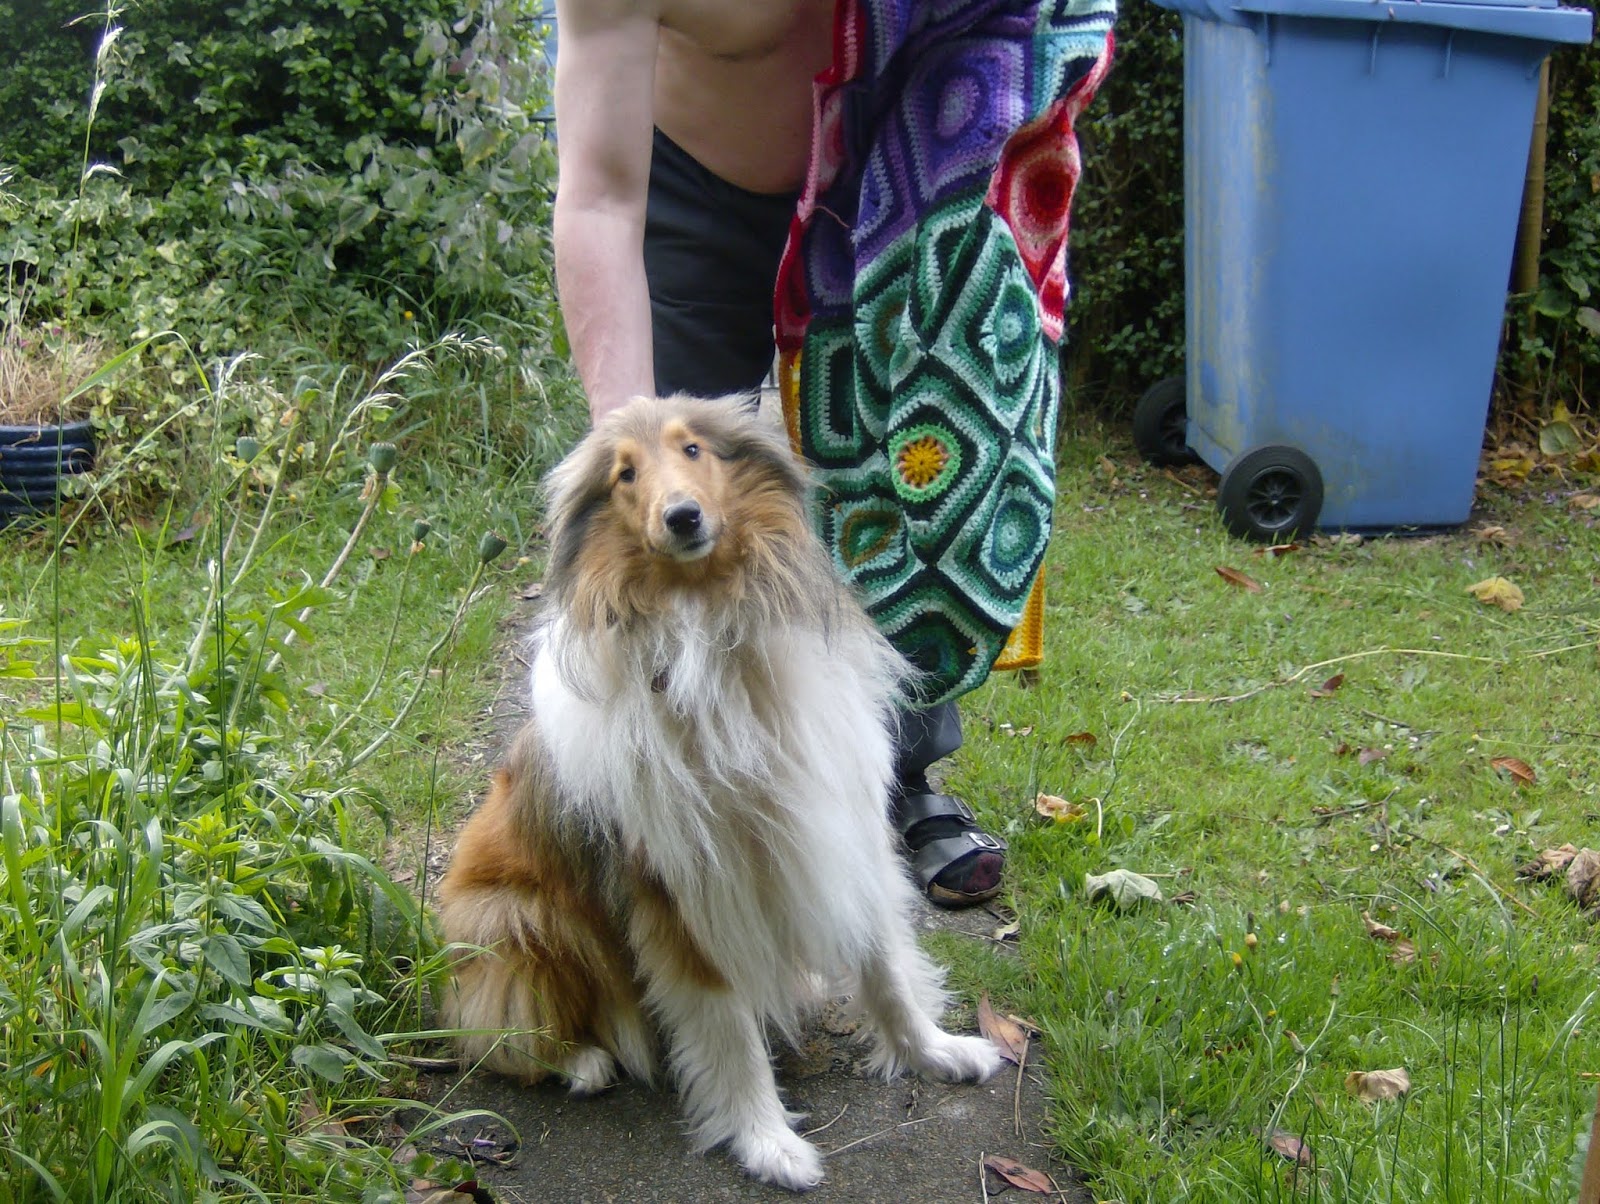
Oh and here is a picture of Tallulah, because you can never have enough pictures of beautiful dogs.


Of course after I'd finished this piece, I then decided to have a go at doing a few close ups, so here they are.
No comments:
Post a Comment